In today's article, we will show you the step-by-step process of replacing the battery as we do it and how it should be done.
The starter battery is one of the essential components of a car, as it provides electrical energy and enables us to start the vehicle. Considering how important of a role it fulfills in the vehicle, it is worth to know how to correctly replace the battery in one’s vehicle, so to avoid damaging the car and its systems by an improper battery replacement. In today’s article we will present to You, step by step, a battery replacement process the way we do it, the way it should be done.
Different car manufacturers place the starter battery in various locations in their cars, that is due to the weight balance, battery size or a wiring harness architecture. Back in the days, the battery’s location was usually under the car’s hood/bonnet, but recently they may be found both there as well as in spots such as: behind a wheelarch, in the boot/trunk, under the seats or the couch, etc. In order to find out where the battery is located in our car, the most reliable way is to find the emergency rescue datasheets dedicated to our make and model of a car in the internet. On a scheme being contained on such a sheet, we can find the information, where in our car is the battery located, and usually it is presented in both the top view and a side view, where different vital subsystems of our car are located, including a starter battery. Unfortunately, such a rescue sheet does not explain how to gain access to our starter battery, only shows its location. If one faces trouble attempting to gain access to the battery, it may prove useful to search for further instructions on how to access the battery in a text or video form.
Before You start the battery uninstalling process, make sure that the car is turned off and the keys are taken out of the ignition. One shall also wear the safety glasses and gloves in order to minimize the risk of skin damage and acid burns. If the car is equipped with a start-stop system, namely, such a system that turns the warmed-up engine off during vehicle stoppages, then usually it is beneficial to use an additional voltage supply to sustain the voltage in the electronic components of the car, it will allow us to keep the memory contents of various systems intact. This will allow us to avoid problems such as: radio decoding, decalibration of adaptive headlights or the Battery Management System (BMS). In case we don’t sustain the voltage, the BMS ought to adapt to the new battery over the course of first teens or tens of kilometers after the battery change, however other problems may persist and sometimes the only way to alleviate them is a visit in a specialized shop that may remove the error codes or recalibrate the components. Due to the BMS self-adaptation, the start-stop system may be non-functional for a number of kilometers after the battery replacement, until the adaptation process is complete.
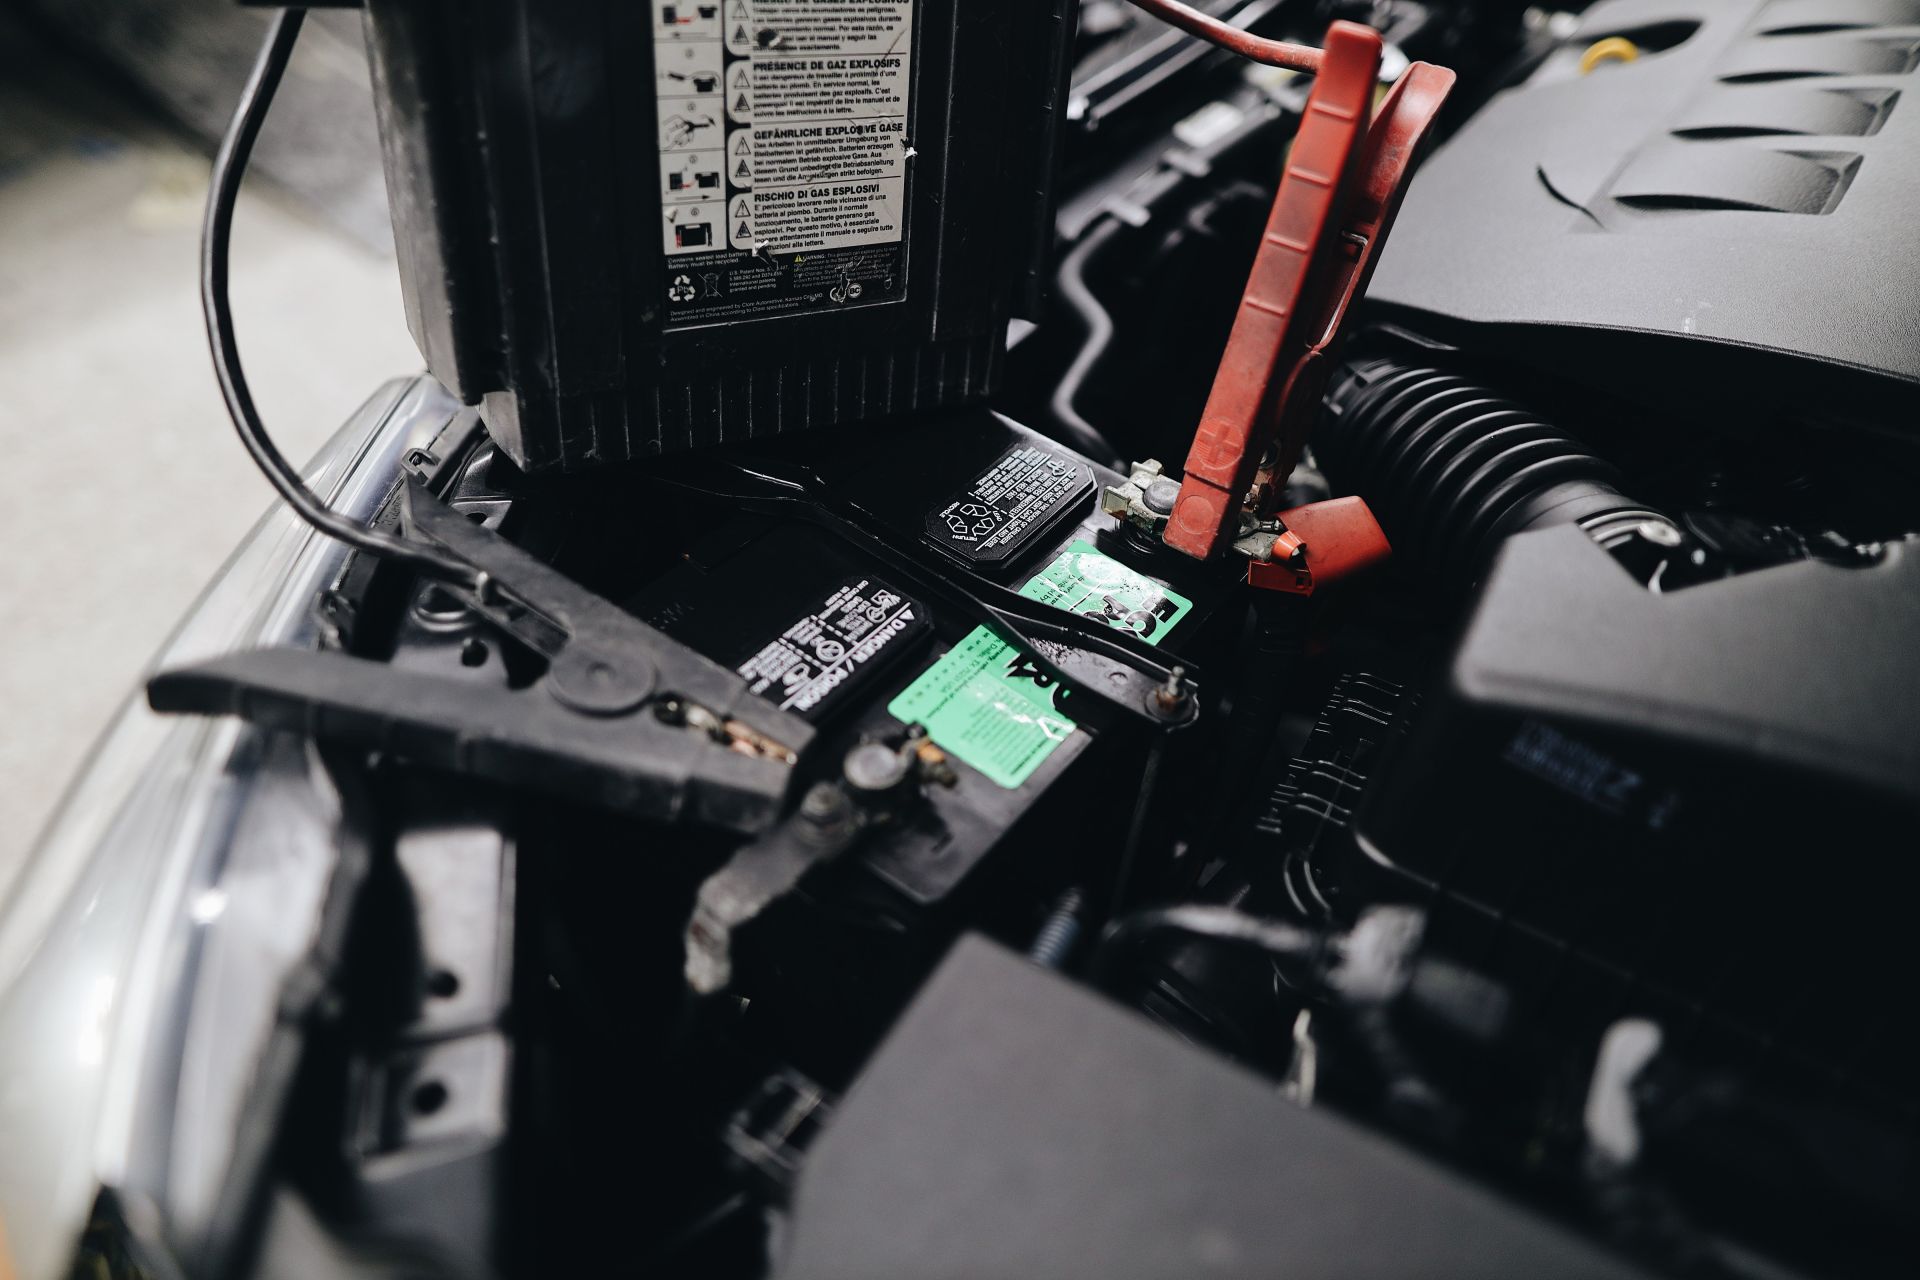
After we reach the battery location and take the necessary precautions associated with its replacement, we may proceed with the battery uninstalling. Every battery is being held down to the car with some form of mounting clamp or a brace. A Mounting clamp is a solution commonly employed by the european automobile manufacturers, as they also utilize an european format of battery, characterized by presence of mounting embossments by the lower edges of the casing, facilitating such a mounting method. Asian/American format of batteries, as well as European format batteries in some cases (ex.: Toyota, Ford, others) are being held down by a brace spanning over the top, preventing the battery from moving around and potentially shorting to some other equipment in the area. Thus, our first step in battery uninstalling should be undoing the screw/s or the nut/s holding the clamp/brace in place together with the battery. Next we should take the screw/nut together with the clamp/brace out of there so it does not impede our further actions. The next step shall be loosening the nut on the negative ( - ) clamp on the negative terminal of the battery and then, taking the clamp off the terminal and moving it aside in such a way that it does not come back in its vicinity and does not close the circuit again, causing sparking. The next action we should do is loosening the nut on the positive (+) clamp and taking it off its terminal of the battery. It is also worth to move it aside, so that it does not come in our way when we take the battery out. Before we take out the battery, we should also, if it is plugged in, unplug the venting duct from one of the sides of the battery top cover, and also move it aside. Now, when the battery is freed from its mounting and unconnected from both electrical conduits, we may take it out of the car, with care that we do not tilt it too much, as it may cause a leakage of the electrolyte through the venting channel. The electrolyte is a concentrated sulphuric acid and it can damage everything on its way, thus we don’t want it to spill anywhere in our car.
Before we place the battery in its due place, it is worth to take advantage of all that free space we have in there at the moment, and brush the interior and the exterior surfaces of both (positive and negative) electric clamps using a wire brush or some similar appliance. This will facilitate proper electrical contact between the clamps and the battery terminals. If the installed battery is not new, it is also worth to clean its terminals similarly, with some sort of a wire brush, that allows us to remove the tarnished layer off the surface of electrical contacts. It is also good to take note of the cleanliness of the space around the battery and, if necessary, clean it of debris or organic matter such as fallen leaves so that they don’t interfere with installation process, don’t come in between electrical contacts but also don’t decompose in there, causing an unpleasant smell that may transfer to the interior of the vehicle.
Battery installation shall proceed in the opposite order of its uninstallation, so first we place the battery in its space which we have properly prepared beforehand. Make sure it does stand firmly in its spot with the entirety of its base and is not ex.: standing on the space limiter located by the battery base. Let’s also check whether the positive terminal of the battery is located on the same side as the positive electric clamp. If it is not, then we might have just put the battery in the wrong way and we have to rotate it 180 degrees but it might also happen that the new battery is of a reverse polarity than the one destined for a given car model. After proper placement of the battery in its place we put the positive electrical clamp on the battery positive terminal, possibly as low on the terminal as we can, then we tighten the nut with a considerable force, usually in a range of 3-15Nm. Next we put the negative electrical clamp onto the negative battery terminal with a single, confident move, as low as possible, and we tighten its nut, again, with a considerable force. Insufficient clamping force would result in a clamp loosening, rotating on the terminal, and even it falling off the terminal. Excessive clamping force would press a groove in the terminal material, which would make it hard to disassemble the connection later. We can recognize an insufficient tightening of the clamp nut by the fact that the clamp can rotate on the terminal, such a situation is a no-go. If we cannot tighten the nut further, but the clamp can still rotate on the terminal, then we have to loosen it a lot more than originally and put it lower on the terminal than before. In nearly all of the automotive batteries, the terminals’ shape is the one of a cut-down cone with a very small vertex angle, so the lower we put the clamp on the terminal, the larger diameter it clamps on. Next, we can fix the battery firmly to the car by using the battery mounting clamp/brace previously taken out during the battery uninstallation. The mounting clamp, in case of the European style of batteries, must come on top of the mounting embossment located by the base of the battery in such a way that it clamps it down to the plate on which the battery stands, and effectively – to the car body. We tighten the screw/s or nut/s fixing the clamp/brace to the car body with a considerate force, but the battery shall not be able to neither move around nor lean to neither of the sides.
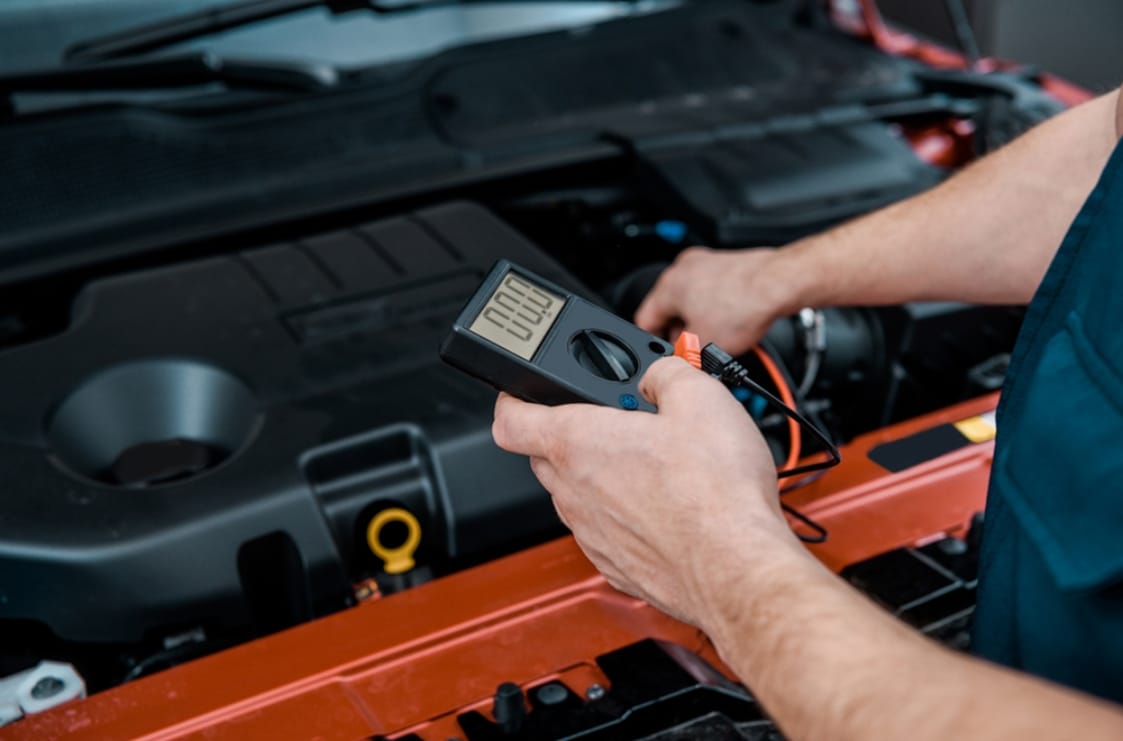
After we perform and finish the battery installation, we can start the car in order to check the functioning of the motor and electrical systems. If the voltage was sustained whilst we were replacing the battery, then no error codes should appear on the dashboard, and all the settings shall remain as they were before. Possible error codes stemming from the loss of voltage in the circuit such as ABS error code or traction control error code should disappear after riding the car a couple of meters or after exceeding some given speed, usually in the range of low tens of kmph. The error codes that do not disappear after the test ride, might warn us of some malfunction that was caused or had appeared during the battery replacement and they may be necessary to remove with the use of a specialist diagnostic computer connected to the vehicle diagnostic port, such as an OBD/OBD2 port.